

Layered Chocolate Meringue Cake
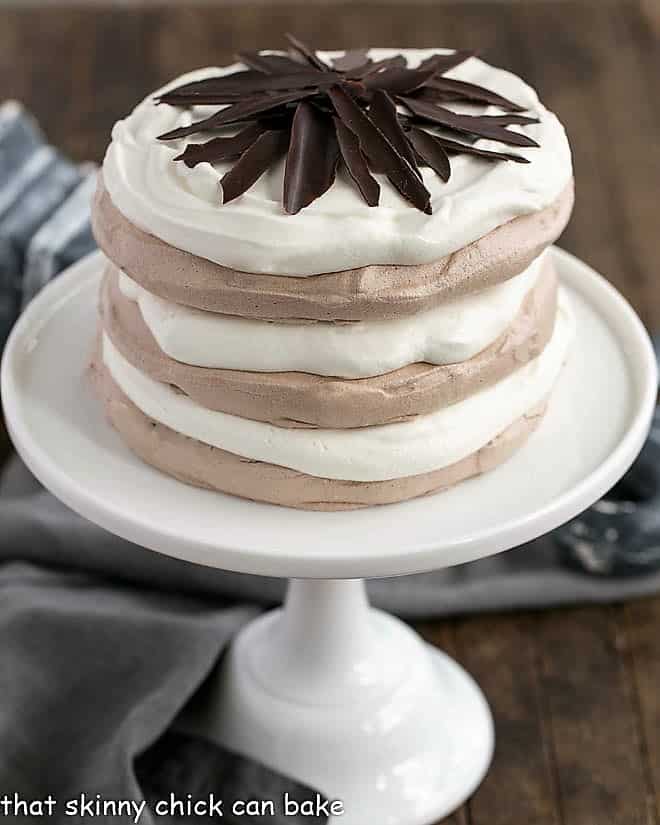
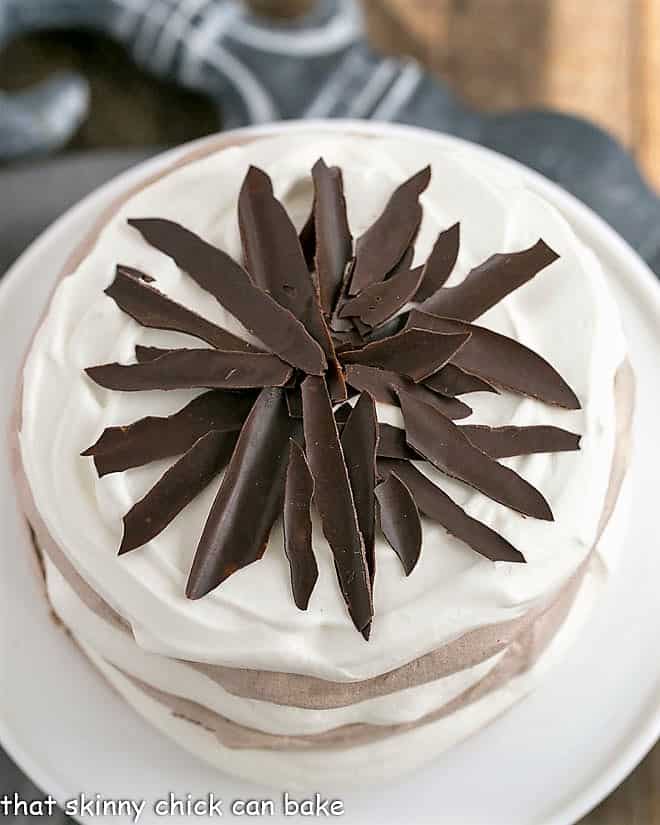
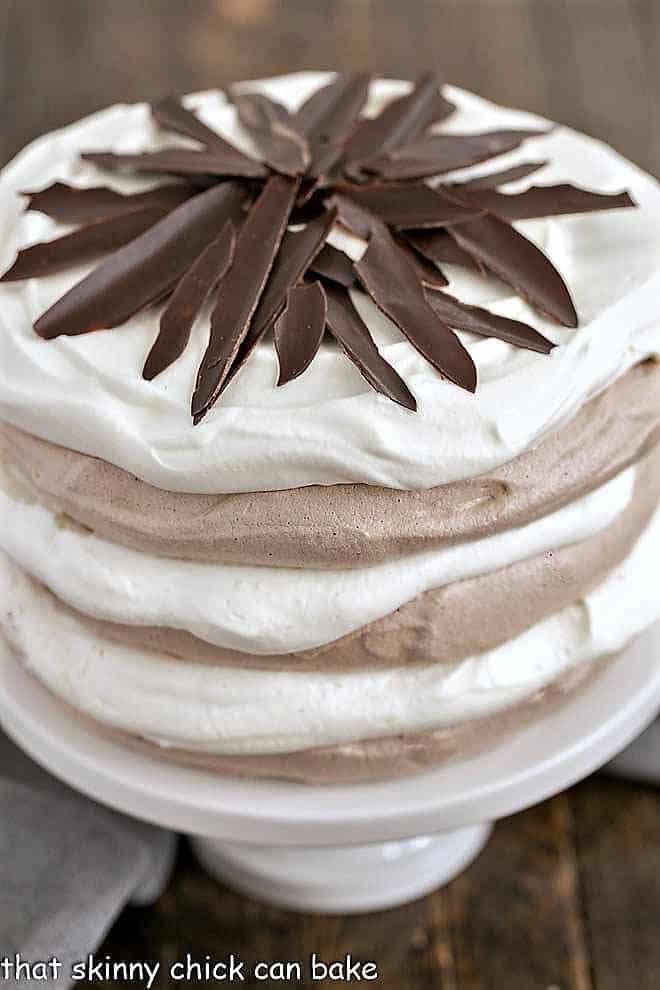
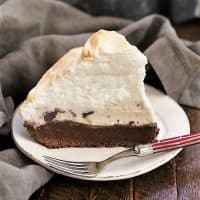
A dreamy magazine photo inspired this Layered Chocolate Meringue Cake: Three chocolate pavlovas are layered with sweet whipped cream and crowned with Chocolate Shards for a magnificent result!
This showstopping Chocolate Dessert Recipe is perfect for special occasions. Plus, it’s naturally gluten-free!
Why You Must Make
This gluten-free dessert is perfect for those wishy-washy chocoholics like my daughter. Often she’ll like a chocolate cake, but complain that the frosting is too intense, too chocolaty.
- These chocolate meringues have a touch of cocoa powder, vanilla whipped cream, and are then accentuated with a topping of chocolate shards. It’s a scrumptious combination.
- Cool and light, it’s an impressive hot-weather treat.
- This chocolate meringue cake is light, luscious, and perfectly lovely!
Tips for Making Meringues and Pavlovas
There are still enough similarities between these two types of desserts that some general rules must be followed for both.
The Eggs
- PRO-Tip: Your egg whites must be at room temperature. But note that eggs separate more easily when they are cold, meaning the yolks are less likely to break.
- So, due to the fragility of room-temperature eggs, I like to separate the whites from the yolks when the eggs come out of the refrigerator. Then I cover them with plastic wrap and let them sit at room temperature. Save your yolks for ice creams, puddings, or custards like creme brulee.
- To prevent any yolk from contaminating the egg whites, as the fat in the yolk will prevent your whites from whipping properly, you’ll need 3 bowls.
- One bowl for the whites, one for the yolks, and one to catch your whites during the separating process. After the first egg white is separated into the initial bowl, move them to the designated whites bowl, add the yolk to the yolks bowl, and repeat the process.
- If a yolk happens to break while you’re doing the separating, save it for scrambled eggs or some other use, but grab another clean bowl to continue separating the eggs.
- Your bowls and beaters must be scrupulously clean, without a smidgen of grease. I make sure my mixer’s bowl and beaters have been washed in the dishwasher so they pass the test. Egg whites will not beat when they come in contact with any fat, which includes residual grease on your equipment or even the teeniest bit of egg yolk.
Whipping the Egg Whites
- PRO-Tip: Using Superfine Sugar (affiliate link) will dissolve more easily than regular granulated sugar. This is not required but helpful.
- I used to think I could whiz my sugar in a food processor to make my own, but I read an article stating that this homemade version of superfine sugar is subpar due to the sharp nature of the processed sugar grains.
- Add the sugar slowly, about 2 tablespoons at a time, giving the egg whites a chance to dissolve the sugar. Rub some of the mixture between your thumb and index finger to check if it feels gritty. If it does, you can mix a bit longer, but I’d rather have a little grit than overbeat the meringue.
- The meringue is fully whipped when it’s thick and glossy.
- PRO-Tip: I use a cake pan and make a template on a sheet of parchment paper by tracing the perimeter of the pan. This will help you spread the meringue into a nice round shape before baking.
Baking your Meringue
- Since your meringue will be in the oven for 3 hours, it’s baked at a lower temperature than typical cakes or cookies.
- This recipe also requires a 3-hour cooling down, drying out period in the oven after the initial baking period. Make sure NOT to accidentally turn on the oven during this time.
- PRO-Tip: Place a Post-It on your oven door reminding you not to use it while the pavlova is inside.
- The template you drew on each piece of parchment helps you make the same-sized meringues. I like using an Offset Spatula (affiliate link) to smooth the sides and tops.
- If you only have two baking sheets, feel free to bake one meringue on one sheet and the other two on the second sheet.
Serving Your Meringue Cake
- I photographed this meringue cake on a cake stand, but it wasn’t easy to slice on the pedestal stand. I suggest serving this dessert on a cake plate.
- PRO-Tip: After smashing this cake to bits and having the whipped cream ooze out the sides with my first attempt to slice, I discovered that heating a serrated knife makes much easier work of that task. I just run the knife under very hot water, then dry it off before slicing it with a sawing motion.
Frequently Asked Questions
Both meringues and pavlovas are egg white desserts, but the culinary terms are not interchangeable. Meringues are crisp throughout, but a classic pavlova has a soft, chewy, marshmallow-like center.
If you go strictly by the definition, this cake is made of three pavlovas, thus a pavlova cake. Meringues tend to be made of only egg whites and sugar, whereas pavlovas have the addition of cornstarch and vinegar, making the inside more marshmallow-like or “squidgy,” as cookbook author and TV host Nigella would say.
My additions were cornstarch and lemon juice instead of vinegar, which provided the acid needed for the classic texture of a pavlova. But I don’t think anyone will argue with you if you apply either of these terms to describe this dessert.
You May Also Like:
- Chocolate Raspberry Pavlova
- Individual Raspberry Pavlovas
- Lemon on a Cloud
- Easy Meringue Cookies
- Plus all my Best Dessert Recipes (recipe category)
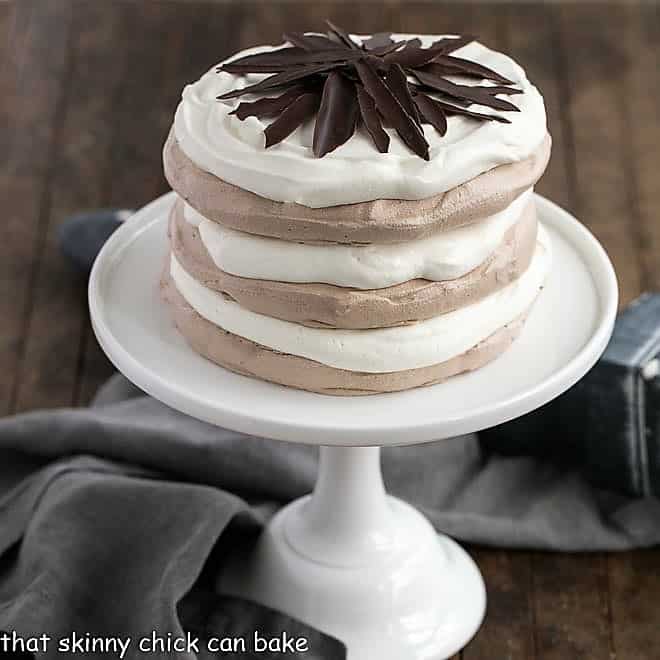
Layered Chocolate Meringue Cake
3 sweet, light chocolate meringues layered with whipped cream for an elegant dessert!
Ingredients
- 6 egg whites, at room temperature
- 1 ½ cups superfine sugar (use granulated if superfine not available)
- 1 ½ tablespoons of cornstarch
- 3 tablespoons good quality cocoa powder
- 1 teaspoon lemon juice
- 2 cups heavy cream
- ½ cup powdered sugar
- 1 teaspoon vanilla
- Chocolate shards to garnish
Instructions
- Preheat the oven to 225ºF. Line 3 baking sheets with parchment. Draw a 7-inch circle on each piece of parchment, then flip the paper over. Set aside.
- Whisk together the sugar and the cornstarch in a small bowl. Set aside.
- Beat the egg whites until they are satiny in appearance. Slowly add the sugar mixture, while continuing to beat, until the meringue is stiff and glossy. Sift the cocoa powder over the meringue, mix to combine, then add the lemon juice.
- Divide the meringue between the baking sheets, keeping within the 7-inch circles. Smooth tops and edges with an offset spatula. Place in the oven and bake for 3 hours until they're dry on the edges and top. Pavlova will appear cracked. Turn off the oven and leave it in the oven for 3 more hours.
- To serve, place one meringue on a serving plate. Whip cream with powdered sugar and vanilla. Top the meringue with about 1 ⅓ cups whipped cream, then repeat with the second and third mering⅓ue. Top with grated chocolate, chocolate curls, or chocolate shards to garnish if desired.
Notes
Make sure your beaters and bowl are grease free and there is no yolk in your egg whites or else your egg whites will not whip properly.
This recipe was inspired by Nigella Lawson's chocolate pavlova and the Chocolate-Coconut Pavlova Cake in Southern Living.
Recommended Products
As an Amazon Associate and member of other affiliate programs, I earn from qualifying purchases.
Nutrition Information:
Yield:
12Serving Size:
1 sliceAmount Per Serving: Calories: 267Total Fat: 15gSaturated Fat: 9gTrans Fat: 0gUnsaturated Fat: 4gCholesterol: 45mgSodium: 39mgCarbohydrates: 32gFiber: 0gSugar: 31gProtein: 3g

26 Comments on “Layered Chocolate Meringue Cake”
Layered chocolate meringue cake is perfect treat, Thanks for sharing with me. I made it for my friend she liked a lot!
This looks delicious! Thanks for all of the pro-tips! How much lemon juice is used?
Hi, Gabi,
It’s 1 teaspoon of lemon juice. Thanks so much for catching my omission! Hope you enjoy 🙂