

Homemade Orange Rolls
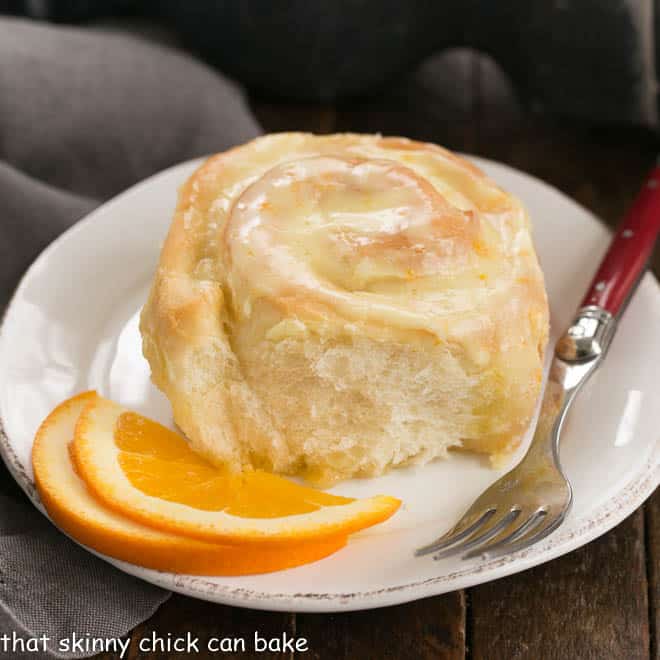
Homemade Orange Rolls are a twist on sweet rolls filled and glazed with a tasty orange zest-infused frosting! These yeast rolls are guaranteed to please!
One way to treat your family is with a comforting breakfast treat. There’s nothing as enticing as the aroma of yeast bread coming from the oven, especially when it’s made from scratch. Let me walk you through the procedure to make these Orange Sweet Rolls.
Why You Must Make
A freshly baked batch of orange rolls and some hot coffee is the perfect offering for a new neighbor, friends with a new baby, or just a delicious treat for your family. The hubby has been begging me to make these orange rolls for months. These reminded him of Maxson Manor’s rolls he and his family used to enjoy.
- They’re a delicious change of pace from cinnamon rolls.
- The dough is sweet and tender, and there is just enough orange flavor to make you swoon.
- This orange rolls recipe makes TWO pans of breakfast rolls, one for you and one to share. Or bake them all up in a 9 x 13 if feeding a hungry family.
Reader Endorsement:
Jamie via Pinterest: These sure were a labor of love…but worth every bit of it! So fluffy and orangetastic! Really impressive.
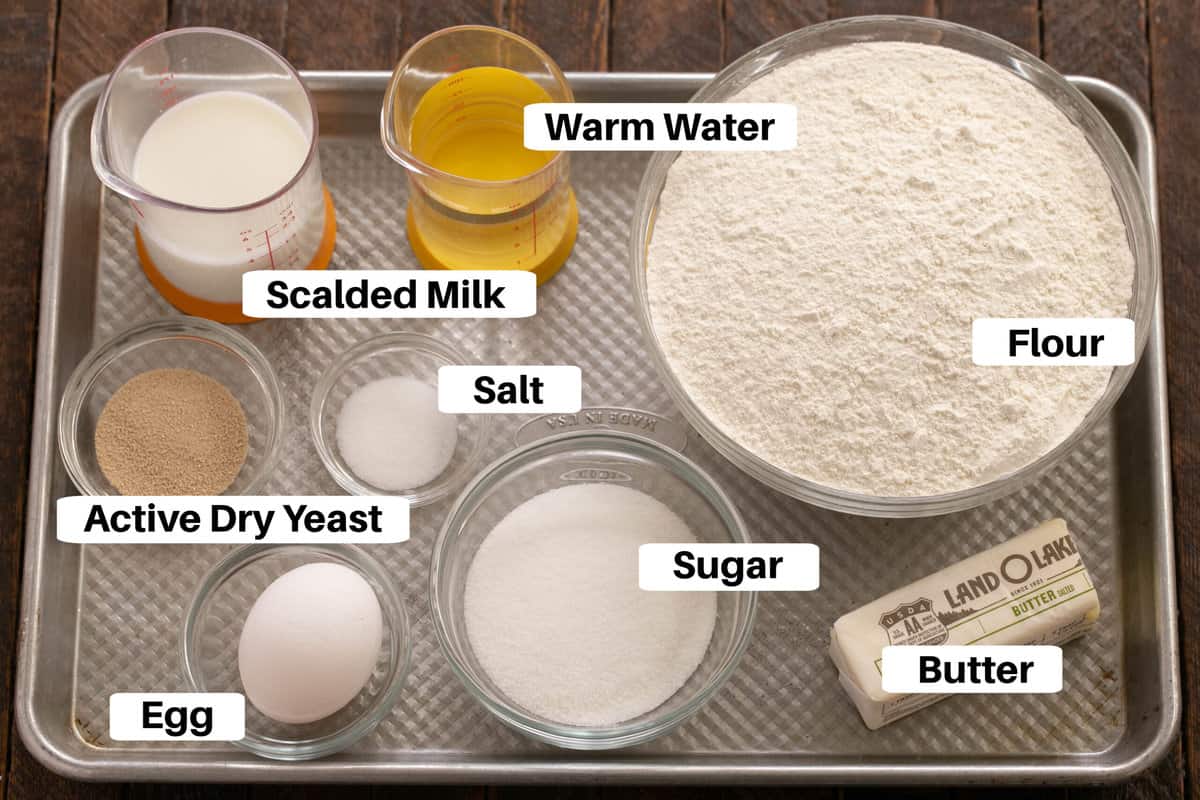
Roll Dough Ingredients
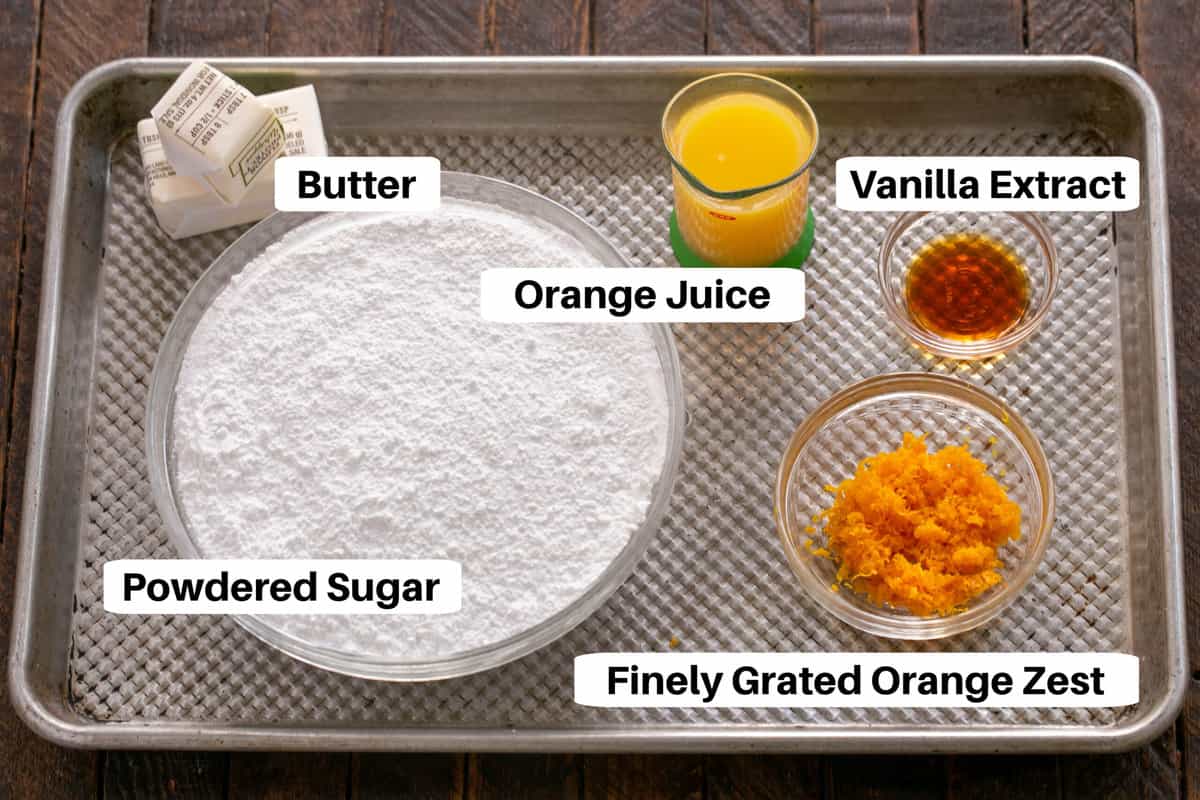
Frosting and Filling Ingredients
Ingredient Notes
- Kitchen Staples – Sugar, Room Temperature Butter, Salt, All-Purpose Flour, Egg
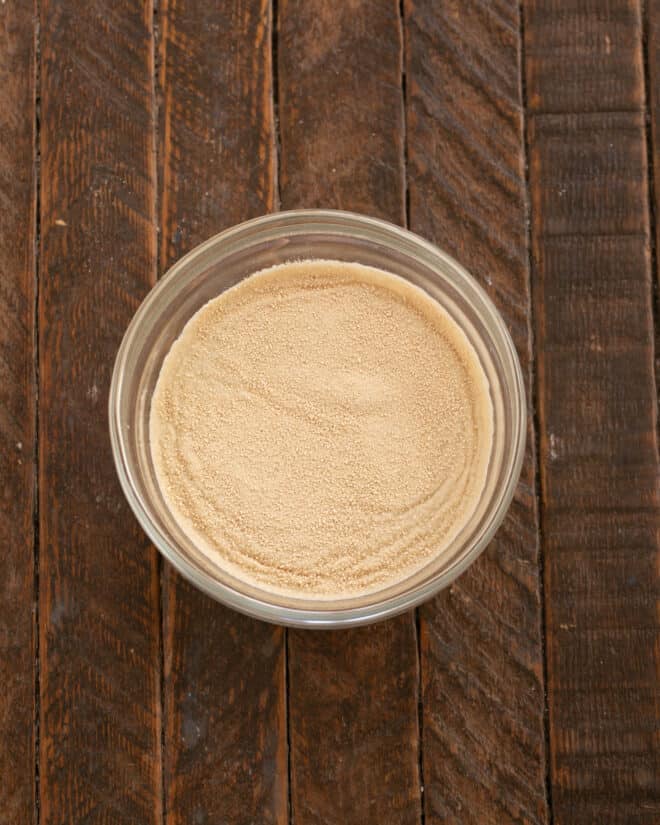
- Active Dry Yeast (affiliate link) – One packet (2 ¼ teaspoons); I use Red Star Yeast
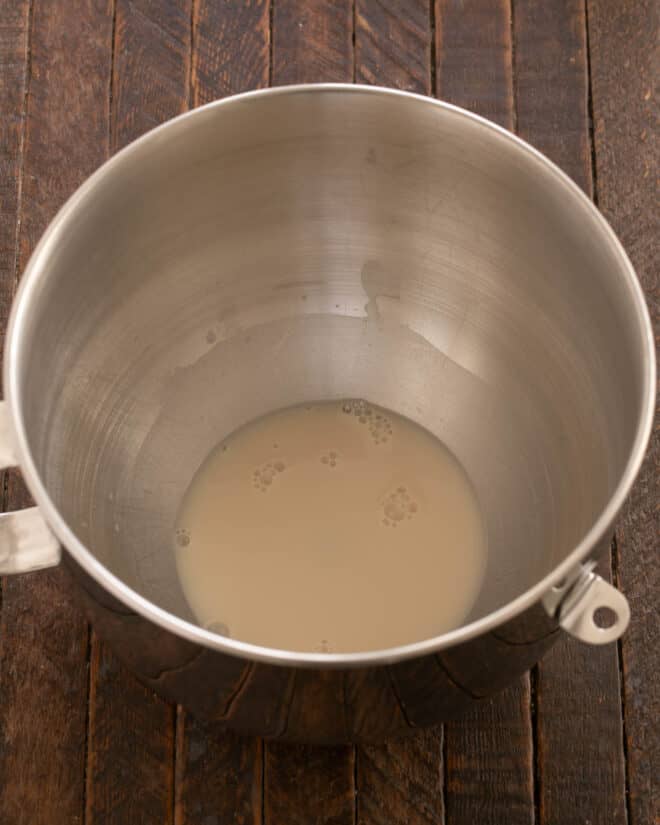
- Warm Water – 105-115º. If your water is too hot, it can kill the yeast.
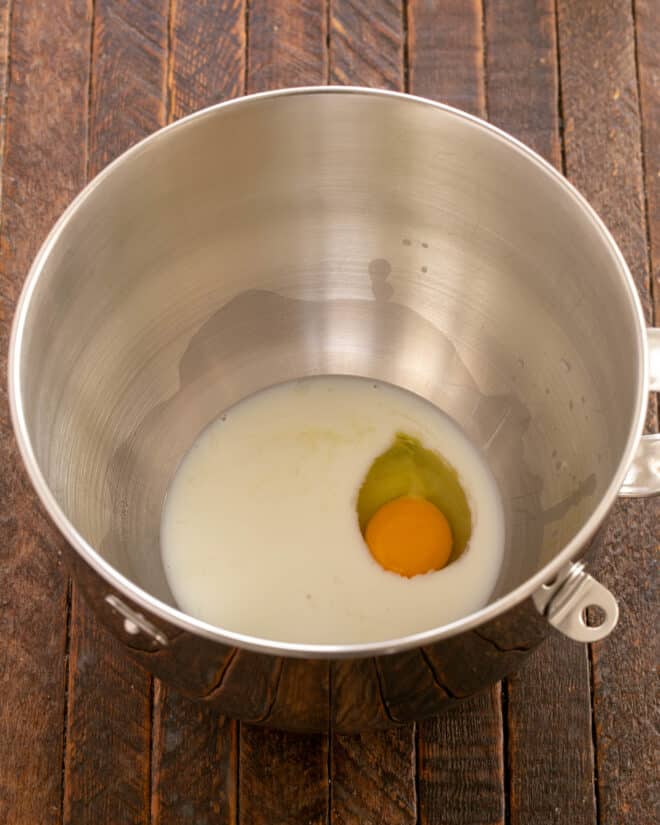
- Scalded Milk – Heat it just below boiling. Cool to lukewarm, no hotter than 115º as that can kill the yeast.
- Powdered Sugar – Sift if you have a lot of little lumps and want a very smooth frosting. I didn’t need to with my latest batch.
- Orange Zest – Finely grate/zest an orange. This will be used to flavor the filling and frosting. I wouldn’t recommend purchasing jarred orange zest as it’s not nearly as flavorful as fresh zest.
- Orange Juice – Freshly squeezed or store-bought, both work well.
- Vanilla Extract (affiliate link) – Make sure it’s real vanilla extract, not artificially flavored.
Expert Tips
Working with yeast can be daunting if you don’t have a few basic tips. Once you get the hang of it, you’ll love both the process and the results.
- Note that yeast is a living organism and can be killed if not treated properly.
- PRO-Tip: This is why you should not add liquid any hotter than 120ºF if you want your bread to rise!
- Check the expiration date of your yeast on the packet. Using old yeast could be a disaster!
- Kneading is an essential part of the bread-making process, too, as it helps activate the gluten in the flour, which gives bread its structure.
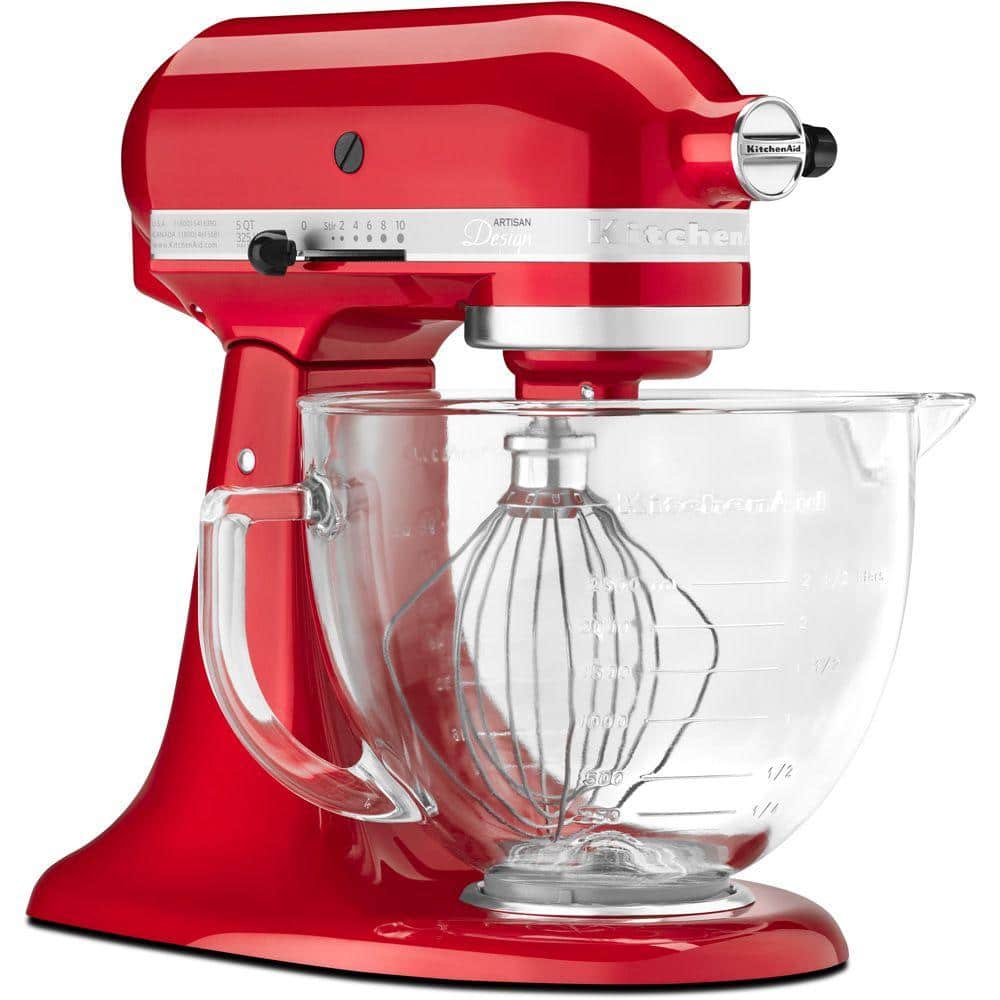
- Done by hand or with a bread hook in a stand mixer, the dough will become smooth and springy. Don’t be tempted to add more flour unless necessary, as too much flour can negatively affect the texture of your bread.
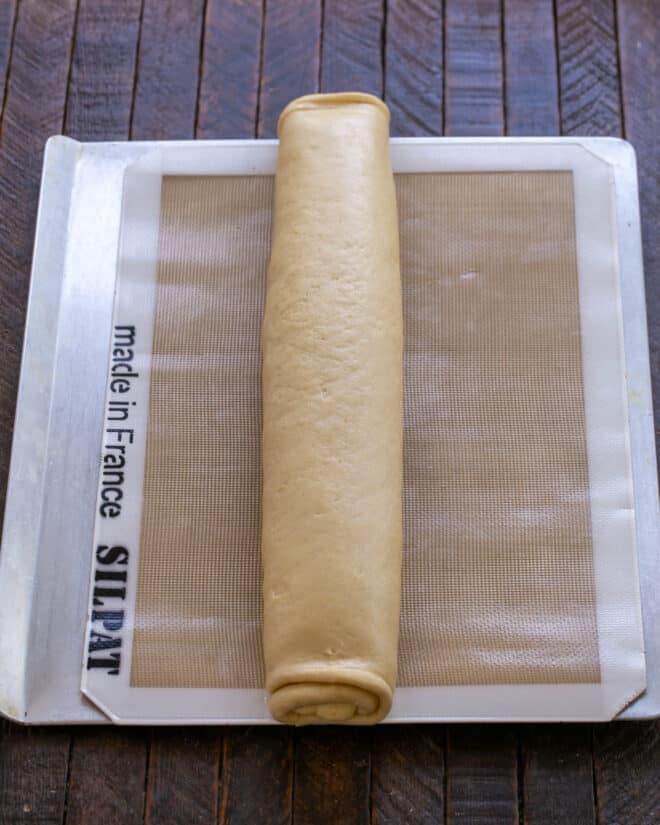
- When rolling up your yeast rolls, don’t roll them too tightly. This will cause the middle sections to pop up higher than the rest of the rolls. They’ll still be tasty but not as attractive.
- Let your dough rise in a warm, moist environment.
- PRO-Tip: Do not force your dough to rise by putting it in a hot location. Somewhere around 80ºF (and up to 90º) is perfect. The ideal humidity is 75%.
- My new oven has a “proof” setting which sets the oven at 85º F.
- I like rolling out the dough on a Silpat AKA a silicone mat. Here is a the LINK (affiliate link) to a less expensive, generic verion. If you have a big budget, I like this Roulpat with marks for rolling out pie crust, etc.
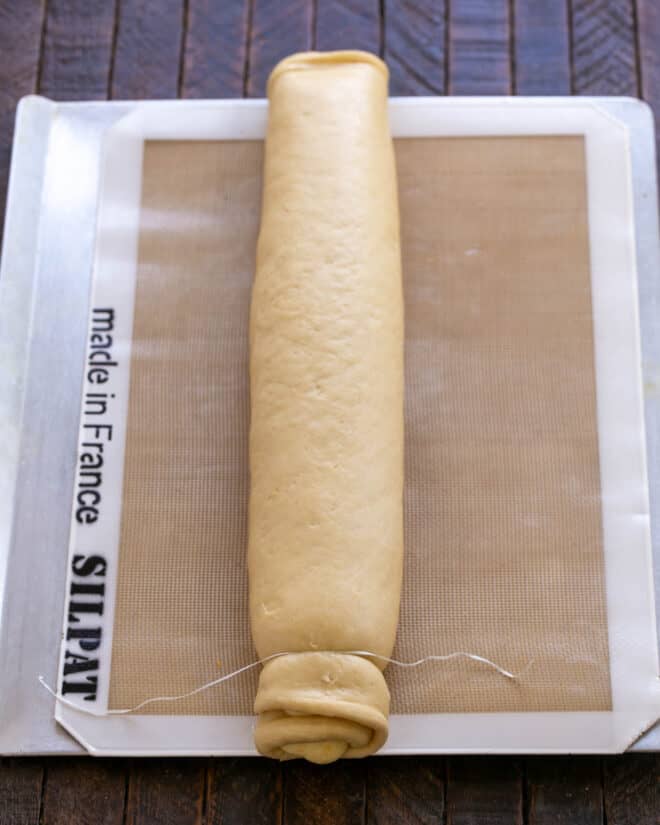
- PRO-Tip: Use unflavored dental floss to cut these orange rolls into slices. Lightly score (or mark with a shallow knife) the roll at 1 ½-inch intervals. Slip a 12-inch strand of floss under the roll, bring the ends up and over the roll of dough, and cross over one of the marks. Pull the ends sharply to cut through the dough. It’s a slick way to cut the dough into slices without the top-to-bottom pressure that comes from using a knife.
How to Make
Frequently Asked Questions
Made like cinnamon rolls, orange rolls are filled with a sweet orange filling instead of cinnamon and sugar.
The low pH of orange juice shouldn’t kill yeast, but even if it did, the orange juice is in the filling and frosting, not the dough.
Store in an airtight container at room temperature for 2-3 days. After that, move them to the refrigerator for up to 3 more days. You can also freeze them for up to 3 months.

You May Also Like:
- Sticky Rolls from Melissa’s Southern Style Kitchen
- Glazed Cinnamon Buns
- Homemade Pretzel Rolls
- Pita Bread Recipe
- Whole Wheat Country Bread
- Homemade Bagel Recipe
- More Bread Recipes
Homemade Orange Rolls Recipe
These orange rolls are adapted from Betty Crocker’s Baking Classics (this recipe dates back to the 1920's when Betty Crocker established a test kitchen)
Ingredients
Sweet Dough:
- 1 package active dry yeast (2 ¼ teaspoons)
- ½ cup warm water (105-115º)
- ½ cup scalded milk, cooled to lukewarm (should be no hotter than 115º)
- ⅓ cup sugar
- ⅓ cup butter, at room temperature
- 1 teaspoon salt
- 1 egg
- 3 ½ cups flour (may add up to a ½ cup more if needed)
Filling and Frosting:
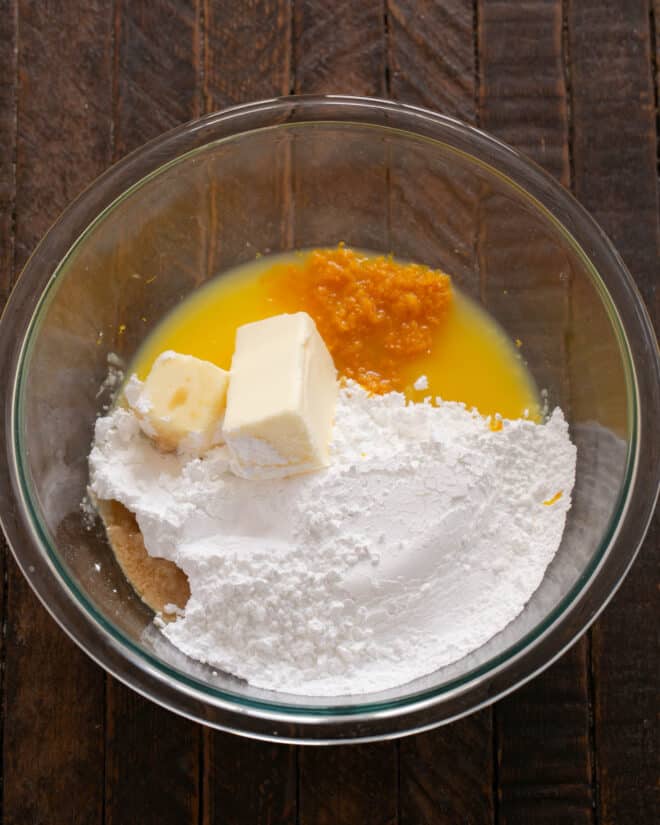
- 3 cups powdered sugar
- 6 tablespoons of butter, at room temperature
- 2 tablespoons finely grated orange peel
- 4 tablespoons orange juice
- 1 teaspoon vanilla
- Heavy cream, to thin frosting, if needed
Instructions
- Dissolve yeast in warm water.
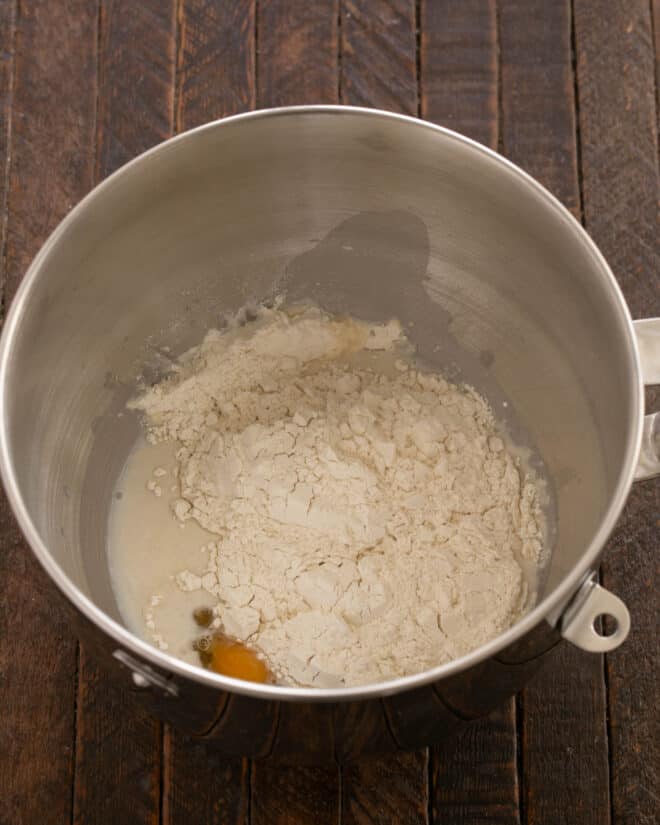
- Stir in milk, sugar, butter, salt, egg, and 2 cups flour. Using a stand mixer and paddle attachment, mix until smooth.
- Switch the attachment to the dough hook and add about 1 ½ cups more flour. Knead for about 5 minutes, adding up to a ½ cup more flour if the dough is sticky.
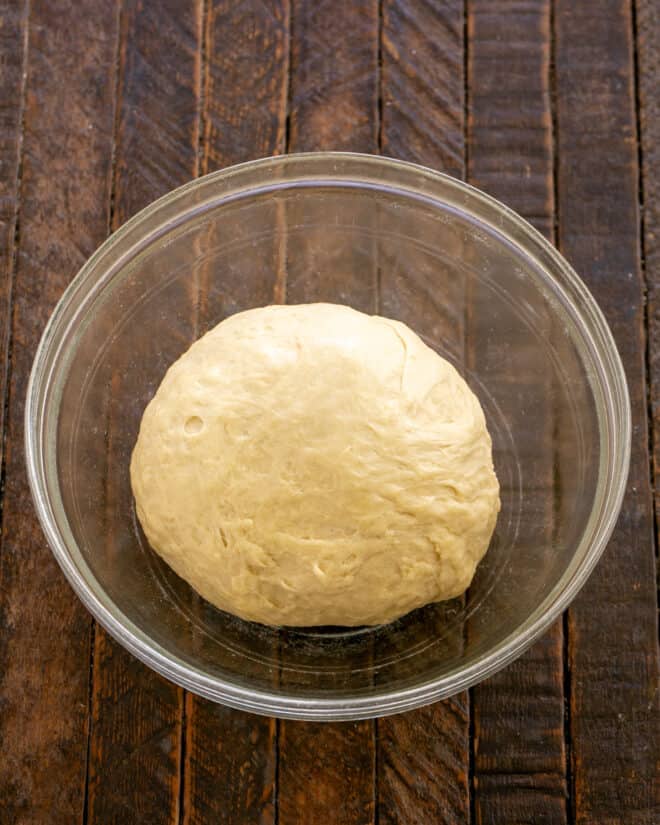
- Place dough in a greased bowl, then flip it over. Cover and let rise in a warm place till doubled in size, about 1½ hours. Make filling while the dough rises.
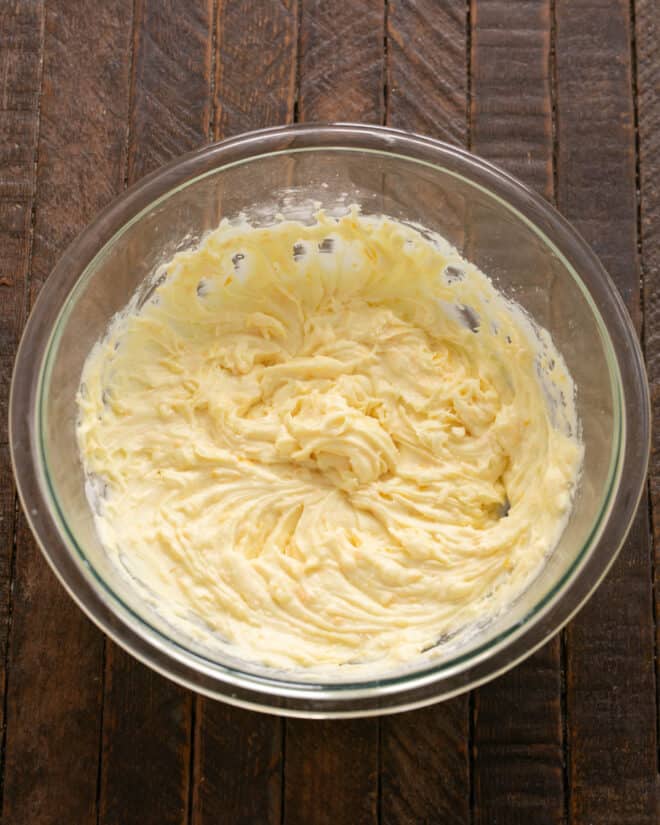
- To make the filling, beat all ingredients till creamy. Set aside.
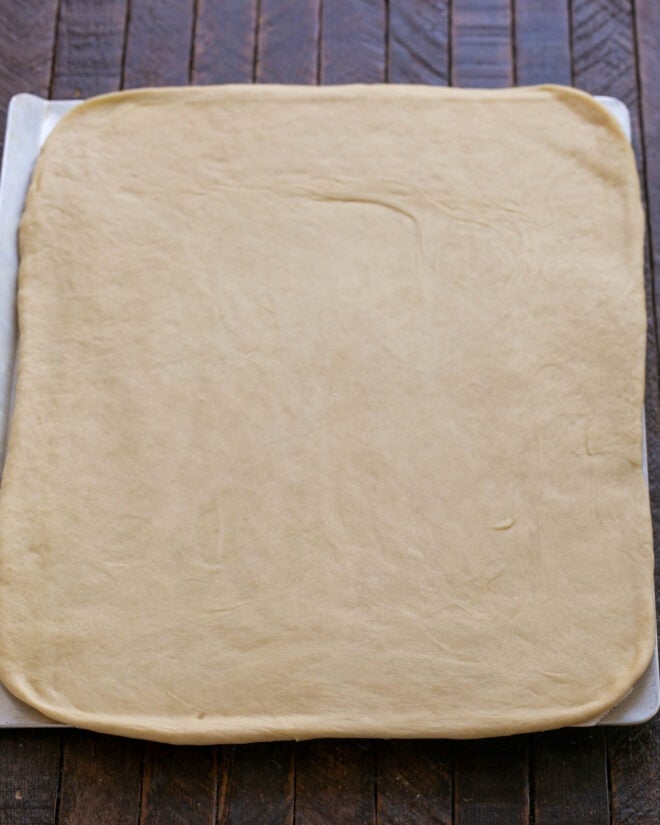
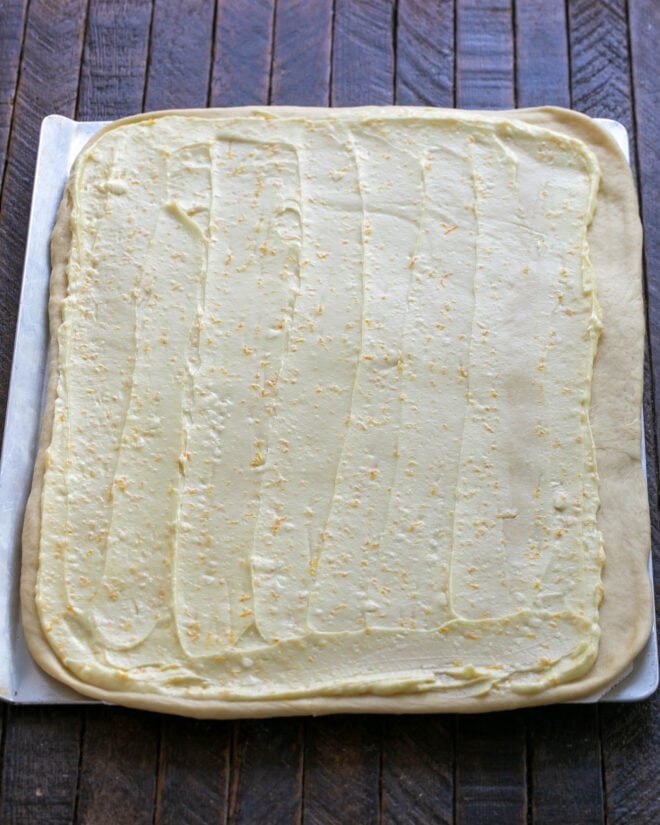
- Punch down dough. Remove the dough and roll it into an 18 x 12-inch rectangle on a lightly floured surface. Spread with half the orange filling.
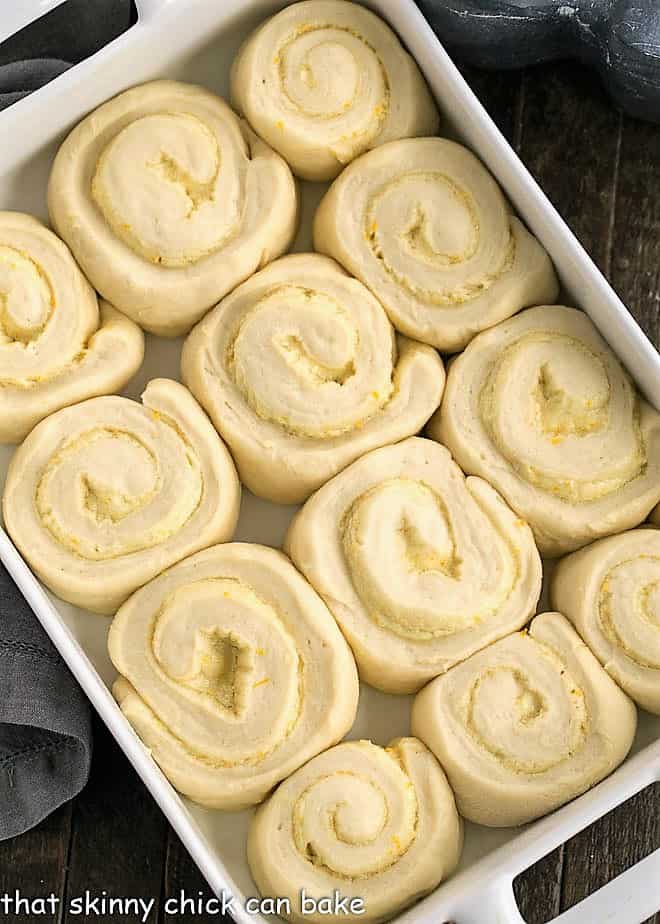
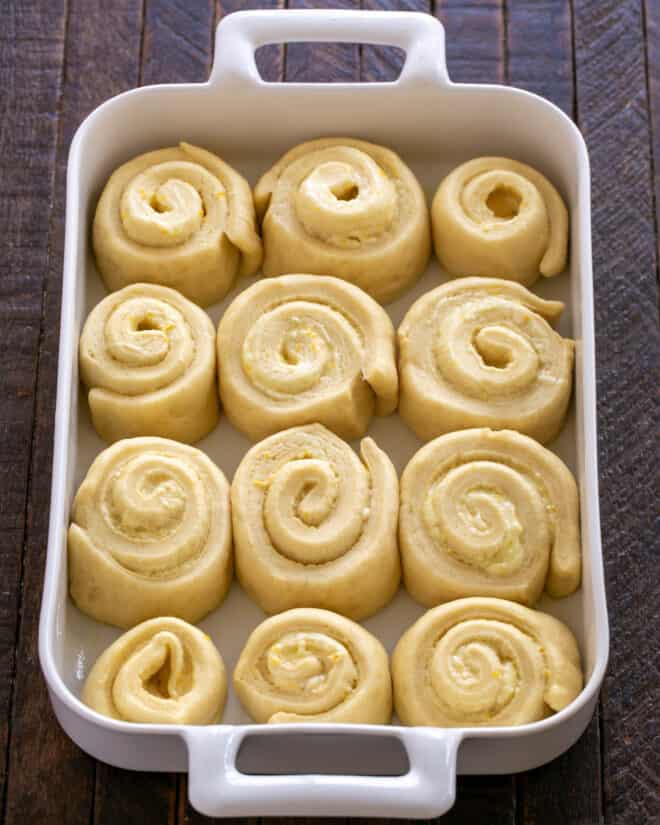
- Roll up the dough beginning at the wider side. Pinch to seal the seam. Using dental floss (or knife) cut the roll into 1 ½-inch slices (12 rolls).
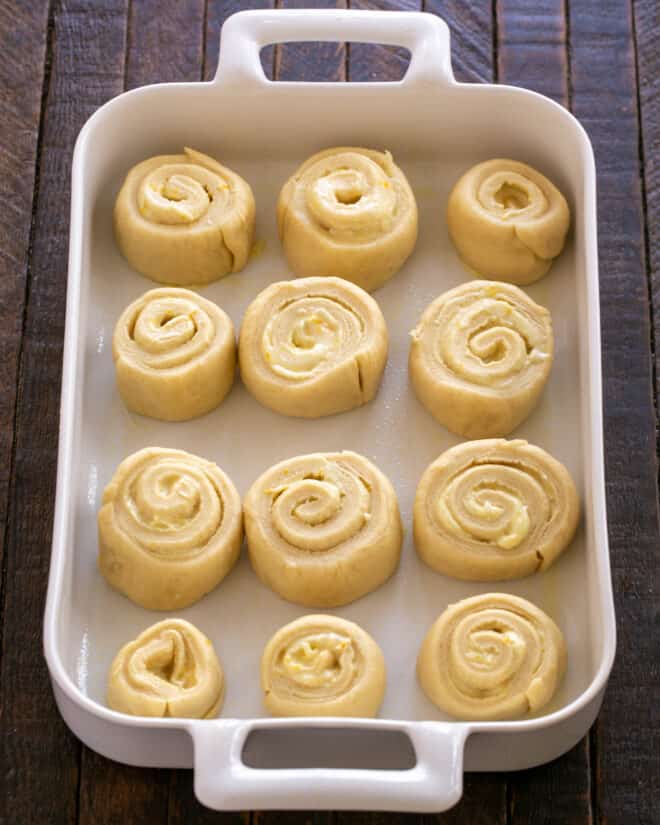
- Place into a greased 9 x 13-inch baking pan. Cover and let rise till doubled, about 40 minutes.
- Preheat oven to 375º.
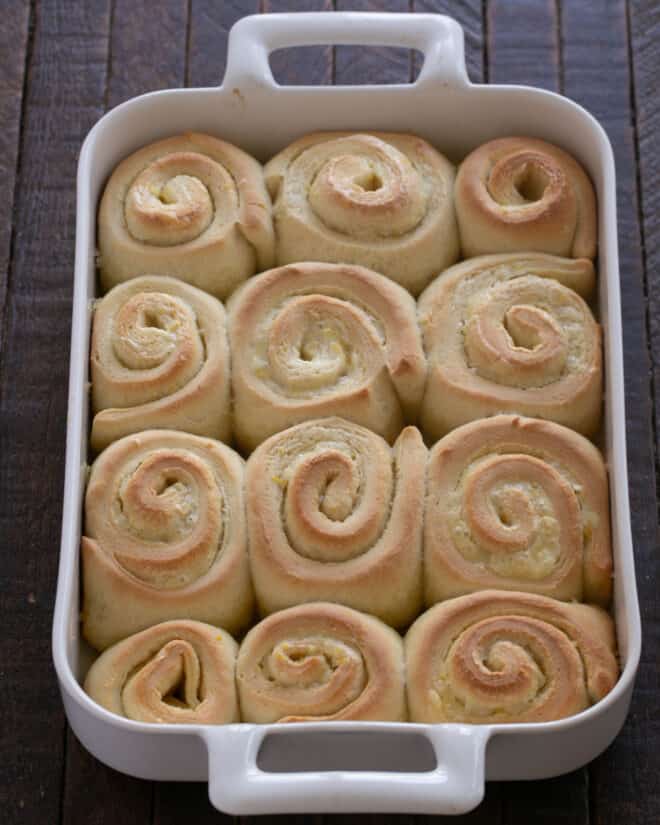
- Bake till golden, about 20-25 minutes. Frost with remaining filling while warm.
Notes
Total time does not include the two proofing times.
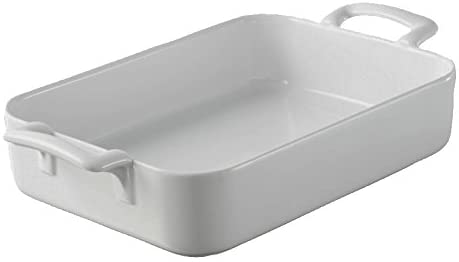
Recommended Products
As an Amazon Associate and member of other affiliate programs, I earn from qualifying purchases.
Nutrition Information:
Yield:
12Serving Size:
1Amount Per Serving: Calories: 395Total Fat: 13gSaturated Fat: 8gTrans Fat: 0gUnsaturated Fat: 4gCholesterol: 48mgSodium: 282mgCarbohydrates: 65gFiber: 1gSugar: 35gProtein: 5g






33 Comments on “Homemade Orange Rolls”
I’m made these many times for my family and kept meaning to come leave a comment! This recipe is easy to follow and the results are so delicious that I get asked to bring them to almost every get together. The only change I make is I add a quarter to a half teaspoon of orange extract to the filling as well to really bump the flavor. Absolutely one of my favorites to make!
Thanks for reporting back, Melissa! My husband adores these, too!!!
I made these for a family brunch and substituted raspberries and the buns were an amazing hit! Thank you for wonderful recipe!
Sounds fabulous, Ruth!! I’m going to try your version next!
What a refreshing change from the usual cinnamon! Spring inspired and perfect for a Mother’s Day Brunch.