

Polka Dot Cheesecake
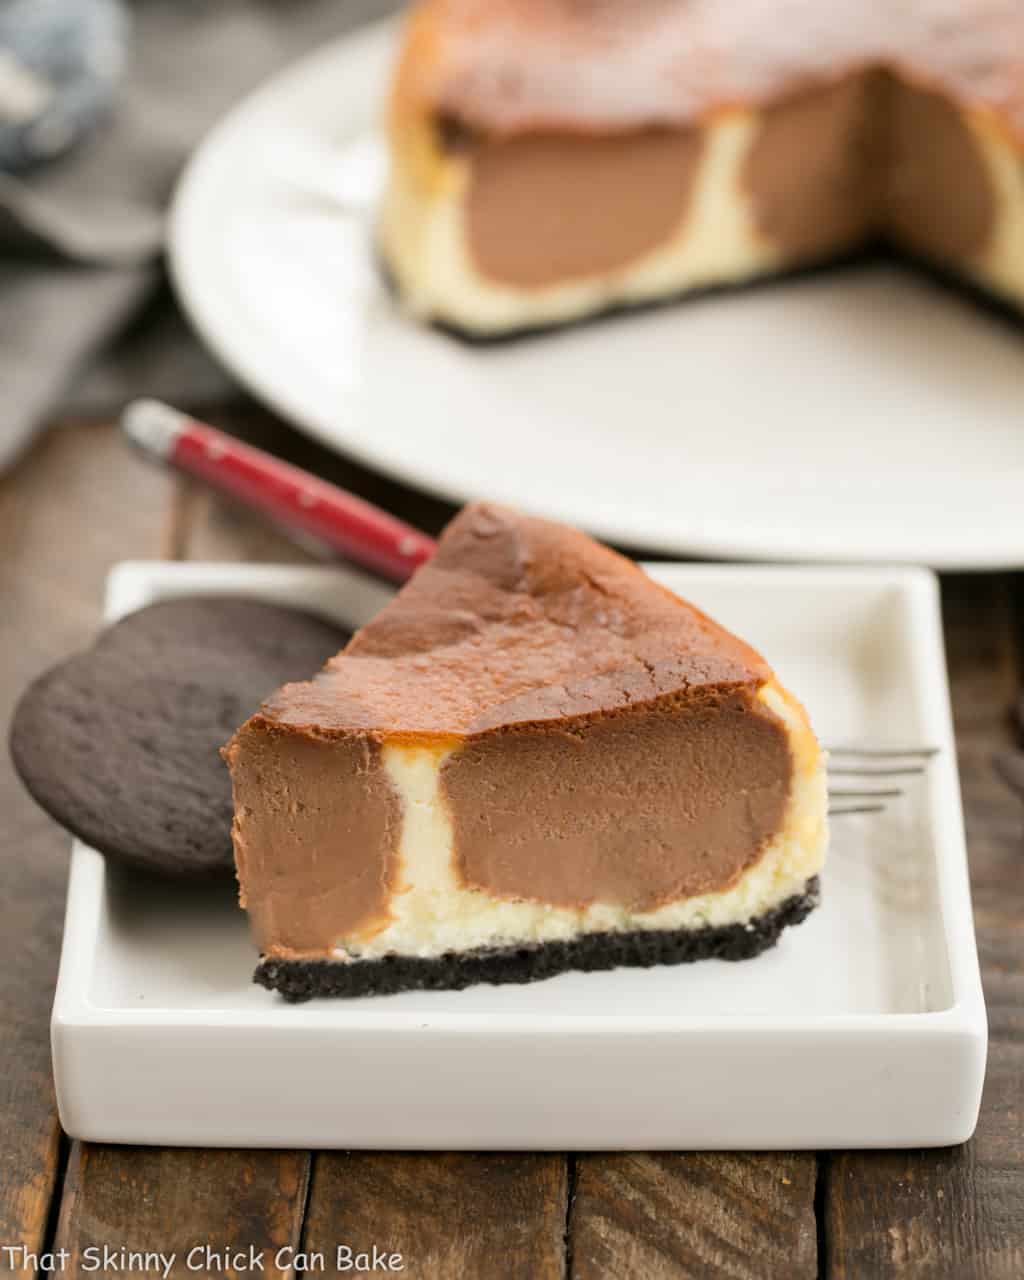
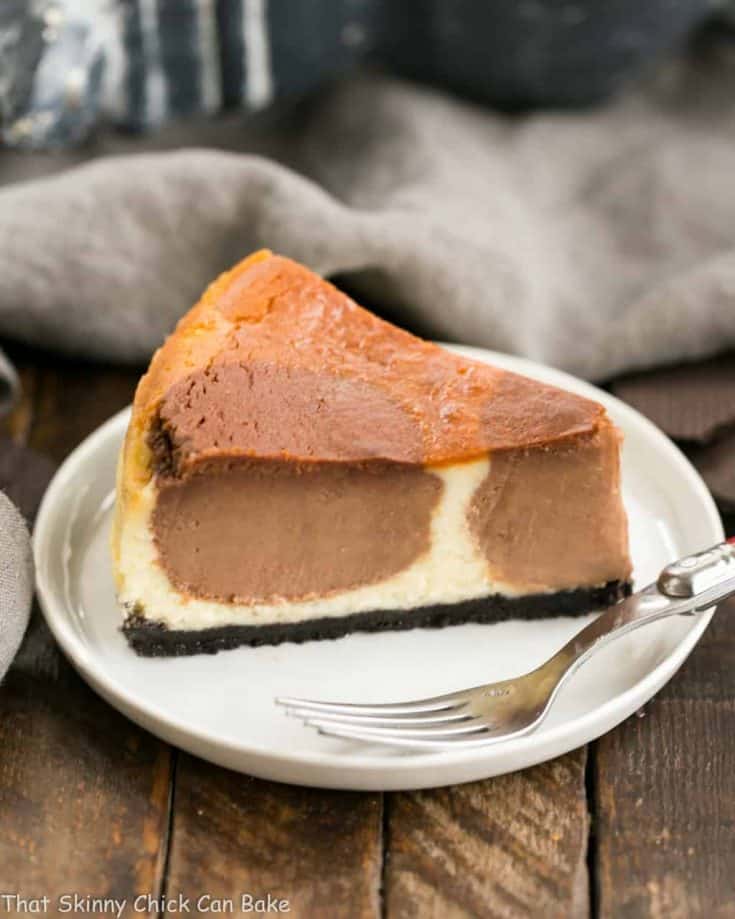
Recalling a Polka Dot Cheesecake I spotted in a magazine years ago, I hunted for a recipe until I finally landed on this dreamy version! It’s perfect when you need a fun, memorable dessert!
A creation of Maida Heatter, renowned pastry chef and cookbook author, this creative Cheesecake Recipe tastes as good as it looks! Apparently, Polka Dot Desserts are all the rage, so this recipe is perfect for your next gathering.
Why You Must Make
- Maida Heatter, pastry chef and cookbook author, is renowned for her exquisite desserts and precise instructions. In her cookbook, Book of Great Desserts (affiliate link), she adapted Craig Claiborne’s basic cheesecake into several fabulous showstoppers.
- It gives both vanilla and chocolate dessert fans their fix!
- Polka dot desserts will always catch your eye, like this fabulous Surprise-Inside Dotty Cake from In Katrina’s Kitchen and, of course, this fun cheesecake!
- When I spotted Ms. Haetter’s polka dot cheesecake recipe, which had been published in Saveur magazine, I was confident it would be outstanding. Starting with a chocolate cookie crust, it was topped with a simple cheesecake flavored with a touch of both vanilla and almond extracts. A third of the batter was mixed with melted chocolate, then piped into “dots” evenly distributed around the surface.
- Note: This recipe was adapted from a Sauver Magazine article and shared on my blog in 2010. The instructions were written in my own words so that sharing would not be a copyright infringement. Ingredients cannot be copyrighted.
Ingredient Notes
- Kitchen Staples – Sugar, Butter (salted is fine, as it won’t make your cheesecake taste salty).
- Chocolate Cookie Crumbs (affiliate links in blue) – Find them in the baking aisle next to the boxes of graham cracker crumbs. You can also make your own by grinding Oreos (the cookie part) in your food processor.
- Cream Cheese – Have at room temperature for easy blending. I use the Philadelphia brand.
- Eggs – Have your eggs at room temperature for easy incorporation. If needed, place your eggs in a bowl of hot (not boiling) water to help speed up the process. Use large eggs.
- Vanilla Extract – Always use pure vanilla extract, not artificially flavored.
- Almond Extract – It’s more potent than vanilla extract, so even if you’re a huge fan, don’t add extra.
- Bittersweet Chocolate – Chopped. I use Ghirardelli bars. Melt and cool to room temperature before mixing it into the batter.
Recipe Tips:
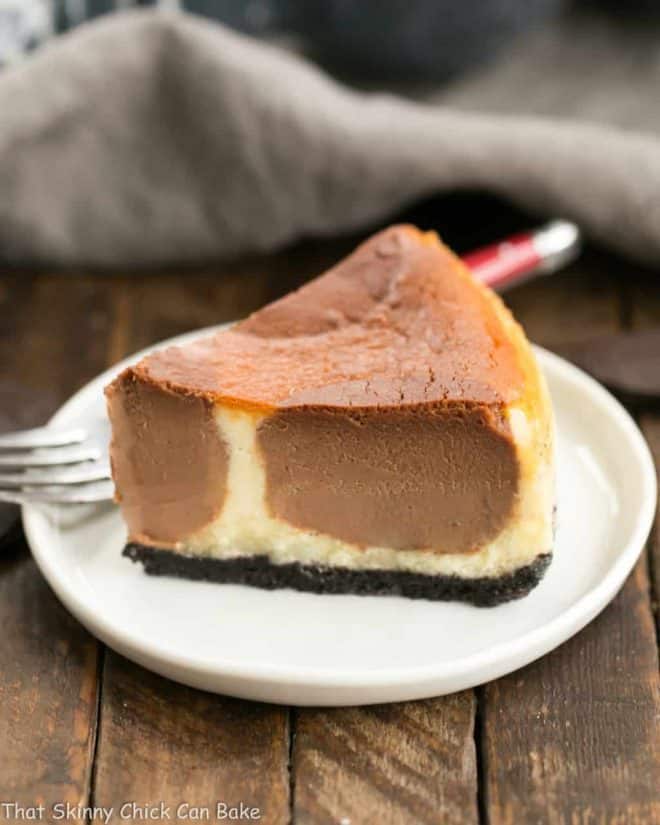
- There were only a couple of issues when putting together this cheesecake. I almost ran out of the chocolate batter, so use it sparingly to start, then add more to each dot with any remaining chocolate batter.
- Maida also prefers to pat the crumbs on the bottom of her cheesecake after it cools. Since much of my crust remained on the bottom plate of the springform pan, you may want to wrap the bottom of the springform pan in Non-Stick Foil (affiliate link), before adding the crust to the pan to make unmolding easier.
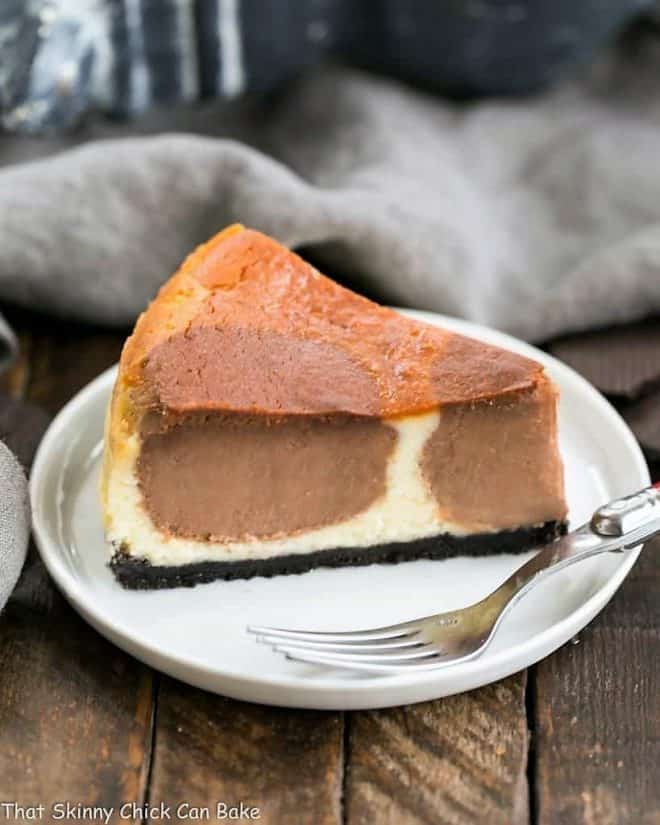
- This was the creamiest cheesecake I’ve ever tasted. I was a little nervous when, after the hour and a half baking time, the top was quite golden brown and puffy. But Maida does mention this dark top in her recipe, and as it cools, it looks more like your typical cheesecake. I’ll have to agree that Craig Claiborne does indeed have the perfect recipe.
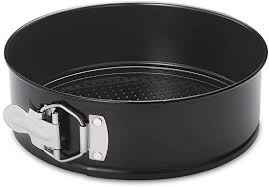
- I bake my cheesecakes in a Springform Pan (affiliate link). This type of baking pan has an exterior clasp that allows you to release the external ring so you can remove and slice the cheesecake. Make sure the cheesecake is well chilled before taking this step.
- I will continue to use this ratio of cream cheese, eggs, and sugar, but vary the flavorings depending on my mood. And this was my first time piping cheesecake dots. The perfectionist in me wasn’t satisfied, but next time will be better!
Cheesecake 101
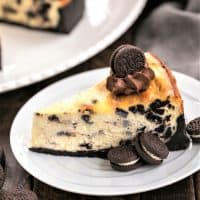
I had my foodie friends over for Cheesecake 101. They sampled some individual Oreo cheesecakes while I went through some basic cheesecake-making pointers:
- PRO-Tip: Eggs and cream cheese should be at room temperature for easier mixing and a smoother texture in the final product. If you forget to get them out of the refrigerator an hour or two before mixing, you can put your eggs and/or cream cheese (still in its foil wrapper) in a bowl of very hot (not boiling) water to hurry the process along.
- PRO-Tip: Philadelphia Cream Cheese (affiliate link) is the gold standard when it comes to cream cheese. Use it if it is available in your area. Avoid generic and low-fat versions if possible.
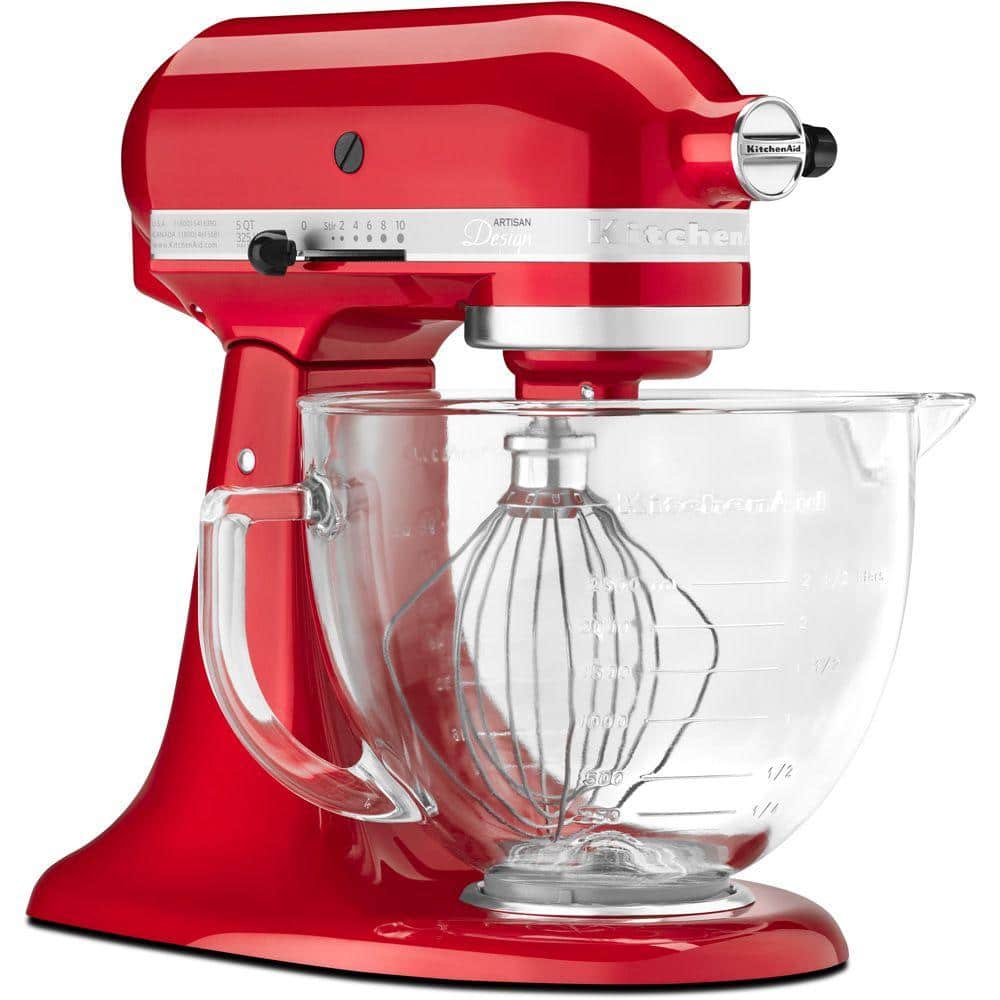
- PRO-Tip: Use the paddle attachment on your mixer to combine ingredients. This will allow for a denser cheesecake.
- When adding the eggs, be sure not to over-mix. You do not want to incorporate any extra air into the batter. Add them one at a time, beating until incorporated before adding another.
- Bake your cheesecake in a bain-marie (water bath). This stabilizes the baking temperature and helps prevent the top from cracking. I use my large All-Clad Roasting pan for this.
- If you’re not 100% certain your Springform Pan (affiliate link to 8-inch springform pan) is watertight, wrap the bottom and sides with Heavy-Duty Foil before placing it in the water bath to prevent water from seeping into the pan. I use my Roasting Pan (affiliate links) for this.
- When your cheesecake is fully baked, run a knife or a Straight Spatula (affiliate link) between the pan and cheesecake to minimize cracking as it cools.
- PRO-Tip: Chill for at least 6 hours or overnight. This also helps make for a creamy texture. But bring it out of the refrigerator at least an hour before serving. This will allow it to be at its creamiest.
Frequently Asked Questions
325ºF is the most common oven temperature called for in cheesecake recipes, but always defer to the recommended temperature in the recipe you’re using. This recipe called for baking at 350ºF.
You can use an instant-read thermometer to check the internal temperature. A cheesecake is done when it reads 145ºF. Then turn off the oven, crack the door open, and let it cool for another hour. PRO-Tip: After that, it’s best to run a knife or an offset spatula around the rim of the pan to prevent the cheesecake from cracking as it cools.
Cheesecake will be at its creamiest when you don’t serve it right out of the refrigerator. Set it out at room temperature when you start your meal so it has at least an hour to get the chill off. Then use a hot knife to make clean slices. Run your knife under hot water, dry it, slice, and repeat.
Cheesecakes generally don’t need much garnishing, but a drizzle of hot fudge, a dollop of sweetened whipped cream, or some fresh berries and mint would look nice on a slice of cheesecake, depending on its flavor.
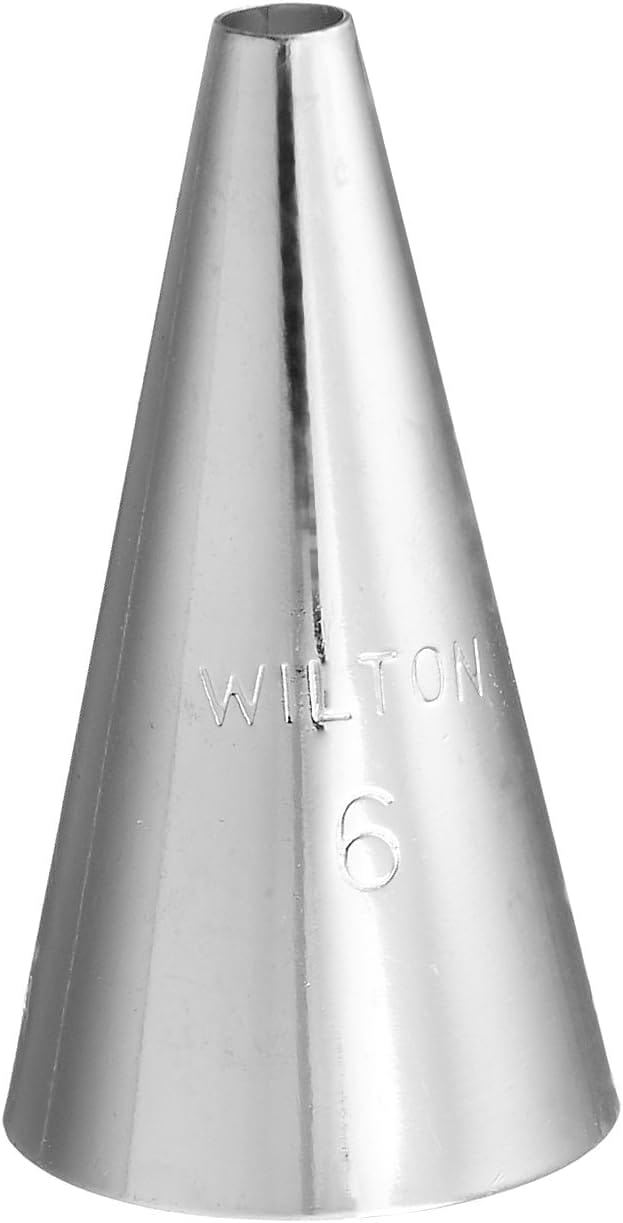
If you have a piping bag and a large tip, you can put the chocolate cheesecake batter into the bag, insert the tip into the cheesecake, and squeeze the bag until a round of batter is visible. Repeat around the surface of the cheesecake. If you don’t have these tools, you can use a large, freezer Ziploc bag. Order a large Piping Tip (affiliate link) from Amazon for the best results.
You May Also Like
- The Best Chocolate Cheesecake from Chelsea’s Messy Apron
- Hot Fudge Brownie Cheesecake from That Skinny Chick Can Bake
- Blackberry Cheesecake Bars from That Skinny Chick Can Bake
- Hot Fudge Brownie Cheesecake from That Skinny Chick Can Bake
- Plus, check out more of my Best Cheesecake Recipes from my Recipe Index.
Thanks to my dear friends who joined me in the kitchen to watch me make this recipe: Beth, Jeanne, Sally, Kathy, Suzanne, me, Shelli, and Cathy.
Polka Dot Cheesecake
A fun cheesecake full of beautiful chocolate polka dots! Adapted from Maida Heatter via Saveur
Ingredients
Crust:
- 1 ¾ cups chocolate cookie crumbs
- ½ stick butter, melted
- 3 tablespoons sugar
Cheesecake:
- 2 pounds cream cheese, at room temperature
- 1 ¾ cup sugar
- 4 large eggs, at room temperature
- 1 teaspoon vanilla extract
- ½ teaspoon almond extract
- 2 ounces bittersweet chocolate, melted and cooled
Instructions
- Preheat oven to 350ºF.
- Mix the crust ingredients and press onto the bottom of an 8-inch springform pan.
- Bake for 10 minutes. Set aside and let cool as you make the cheesecake batter. Wrap the outside of the pan with heavy-duty aluminum foil if your pan is not watertight.
- Place cream cheese in the bowl of a stand mixer with the paddle attachment and beat on medium speed for several minutes until smooth, scraping sides and bottom often.
- When the cream cheese has been mixed well, add the vanilla and almond extracts and sugar and beat well. Add eggs, 1 at a time, until just combined. Do not overbeat.
- Remove ⅓ of the cheesecake mixture and place it in a separate bowl. Pour the remaining cheesecake mixture into the prepared pan and set aside.
- Combine the melted chocolate and the reserved cheesecake mixture until well mixed. Place the chocolate mixture in a pastry bag fitted with a plain #6 tip (½ inch) (or you can use a Ziploc bag with the end clipped).
- Place the tip of the tube into the center of the top of the cake, inserting it only slightly into the cake.
- Squeeze out some of the chocolate mixture and leave a dark polka dot about 2 inches wide on the top of the cake.
- Then, using the same procedure, squeeze out six balls around the rim. To space the six balls evenly, place the first one at twelve o’clock (top of the cake). The next at six o’clock (opposite your first ball). Then two on each side.
- The balls around the rim should be smaller than the one in the center, and they should not touch each other. If you have some chocolate mixture left over, add it to the other balls.
- Place the cake pan into the larger pan (I use a roaster). Place it in the oven and pour hot water into the larger pan about 1 ½ inches deep.
- Bake for 1 ½ hours. The top of the cake will still become golden brown, and it will feel dry to the touch. The cake will firm up as it cools.
- Lift the cake pan out of the water and place it on a cake rack. Remove the foil if used. Cool the cake in the pan for 2 ½ hours.
- Refrigerate for several hours or overnight.
- To serve, dip a sharp knife in very hot water or hold it under running hot water before making each cut, shake off the water, but do not dry the blade.
- Make the first cut through the middle of one of the smaller dots, and the second cut between two of the smaller dots.
Notes
Adapted from Maida Heatter.
Recommended Products
As an Amazon Associate and member of other affiliate programs, I earn from qualifying purchases.
Nutrition Information:
Yield:
8Serving Size:
1 sliceAmount Per Serving: Calories: 799Total Fat: 54gSaturated Fat: 31gTrans Fat: 0gUnsaturated Fat: 18gCholesterol: 223mgSodium: 510mgCarbohydrates: 70gFiber: 1gSugar: 58gProtein: 12g
Thatskinnychickcanbake.com occasionally offers nutritional information for recipes contained on this site. This information is provided as a courtesy and is an estimate only. This information comes from online calculators. Although thatskinnychickcanbake.com attempts to provide accurate nutritional information, these figures are only estimates. Varying factors such as product types or brands purchased can change the nutritional information in any given recipe. Also, many recipes on thatskinnychickcanbake.com recommend toppings, which may or may not be listed as optional and nutritional information for these added toppings is not listed. Other factors may change the nutritional information such as when the salt amount is listed “to taste,” it is not calculated into the recipe as the amount will vary. Also, different online calculators can provide different results. To obtain the most accurate representation of the nutritional information in any given recipe, you should calculate the nutritional information with the actual ingredients used in your recipe. You are solely responsible for ensuring that any nutritional information obtained is accurate.

83 Comments on “Polka Dot Cheesecake”
What a GREAT picture! The cheesecake isn’t bad, either! I’ve seen pictures of polka-dot cheesecakes, but didn’t understand how it worked! Thanks!
I love, love, love how you set up the cheesecake. I agree i can be tricky. A few years ago I made one from Bon Appetit that was surprisingly easy but probably not as creamy-delicious as yours. Perfecting a cheese cake might be a good and tasty New Year’s resolution for me! I can start with this one.
Lizzy, what a beautiful cake!!! thanks for your basic points, great tips.
I have never tried making a cheesecake but I need to with your tips in mind. This looks delicious. The polka dots would be perfect to make for when my mom comes for a visit. Yummy!
So cool! I’ve never seen anything like that before!
What a great looking cheesecake! Although I have made many different kinds of cheesecakes I have never even seen a polka dot cheesecake. Lovely!
what a cool design
Cheesecake is one of my all time favorite desserts! What a pretty one here! Thanks for sharing the tips too!
I never turn down cheesecake, but what does the man of the house say about this one?
What a clever and fun version of cheesecake with a popular flavor combination! Thanks for sharing this interesting cake and technique!
Your friends look like a lot of fun!
This is so cool, Liz! My husband loves cheesecake, it’s his absolute favorite. I agree completely with all of your tips too. I always wrap my springform with foil just in case! I’m definitely making this for him soon!
Gorgeous cheesecake!
that’s some nice looking cheesecake
I agree with Tina this is better than marbling. The dots really look cute in your cheese cake. And your steps to assemble the cheese cake will be helpful for people like me.
That’s one beautiful looking cheesecake! I love the polka dot effect with the chocolate. And your tips are so helpful–I’ve only made cheesecake once, and it was slightly disastrous (it puffed up, then sank, AND the top split every which way). Maybe it’s time to reattempt the monster with your tips in hand.
so cute! dimples, just like my thighs 🙂
Your polka dot cheesecake is beautiful! I love the contrasting colors and of course I love cheesecake. 🙂
I have only been able to get cheesecake right once. Yes, just once. Moist, not cracked and not brown on top. It was in a 9 x 9 Pyrex baking pan and the recipe was something I put together following my heart and not a recipe. Never to be recreated again.
If I had your cheesecake tips I would have been more successful. I’m so grateful that you shared this with us!
I was wondering what made up the dots in there! I like this better than the traditional marbling. It does look scrumptious!
What a fun get-together! The cheesecake looks gorgeous!
What a gorgeous recipe! It looks fantastic. (BTW, love Groucho in the photo!)